Send test emails
You can send test emails with a single click. Please toggle on the Test Campaign status and wait until the loading symbol has stopped spinning. When you click on the “Send Test Email,” the system will send a single email paired with a real Order ID to the recipient of the test email. However, if the configuration is still running, the recipient will receive an email with dummy data when the user clicks on the Send Test Email button.

Copy the Campaign
You can copy an Email campaign from by clicking Edit > Copy.
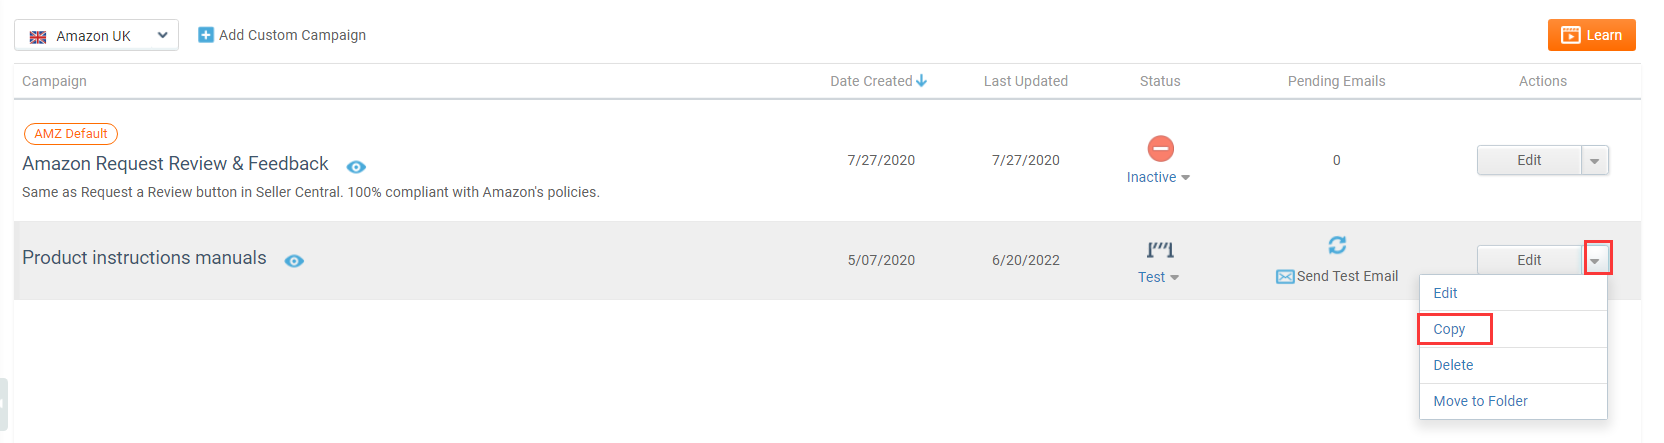
Once you choose the “copy” of the Campaign, you need to decide which marketplace you prefer to have the new Campaign assigned to.

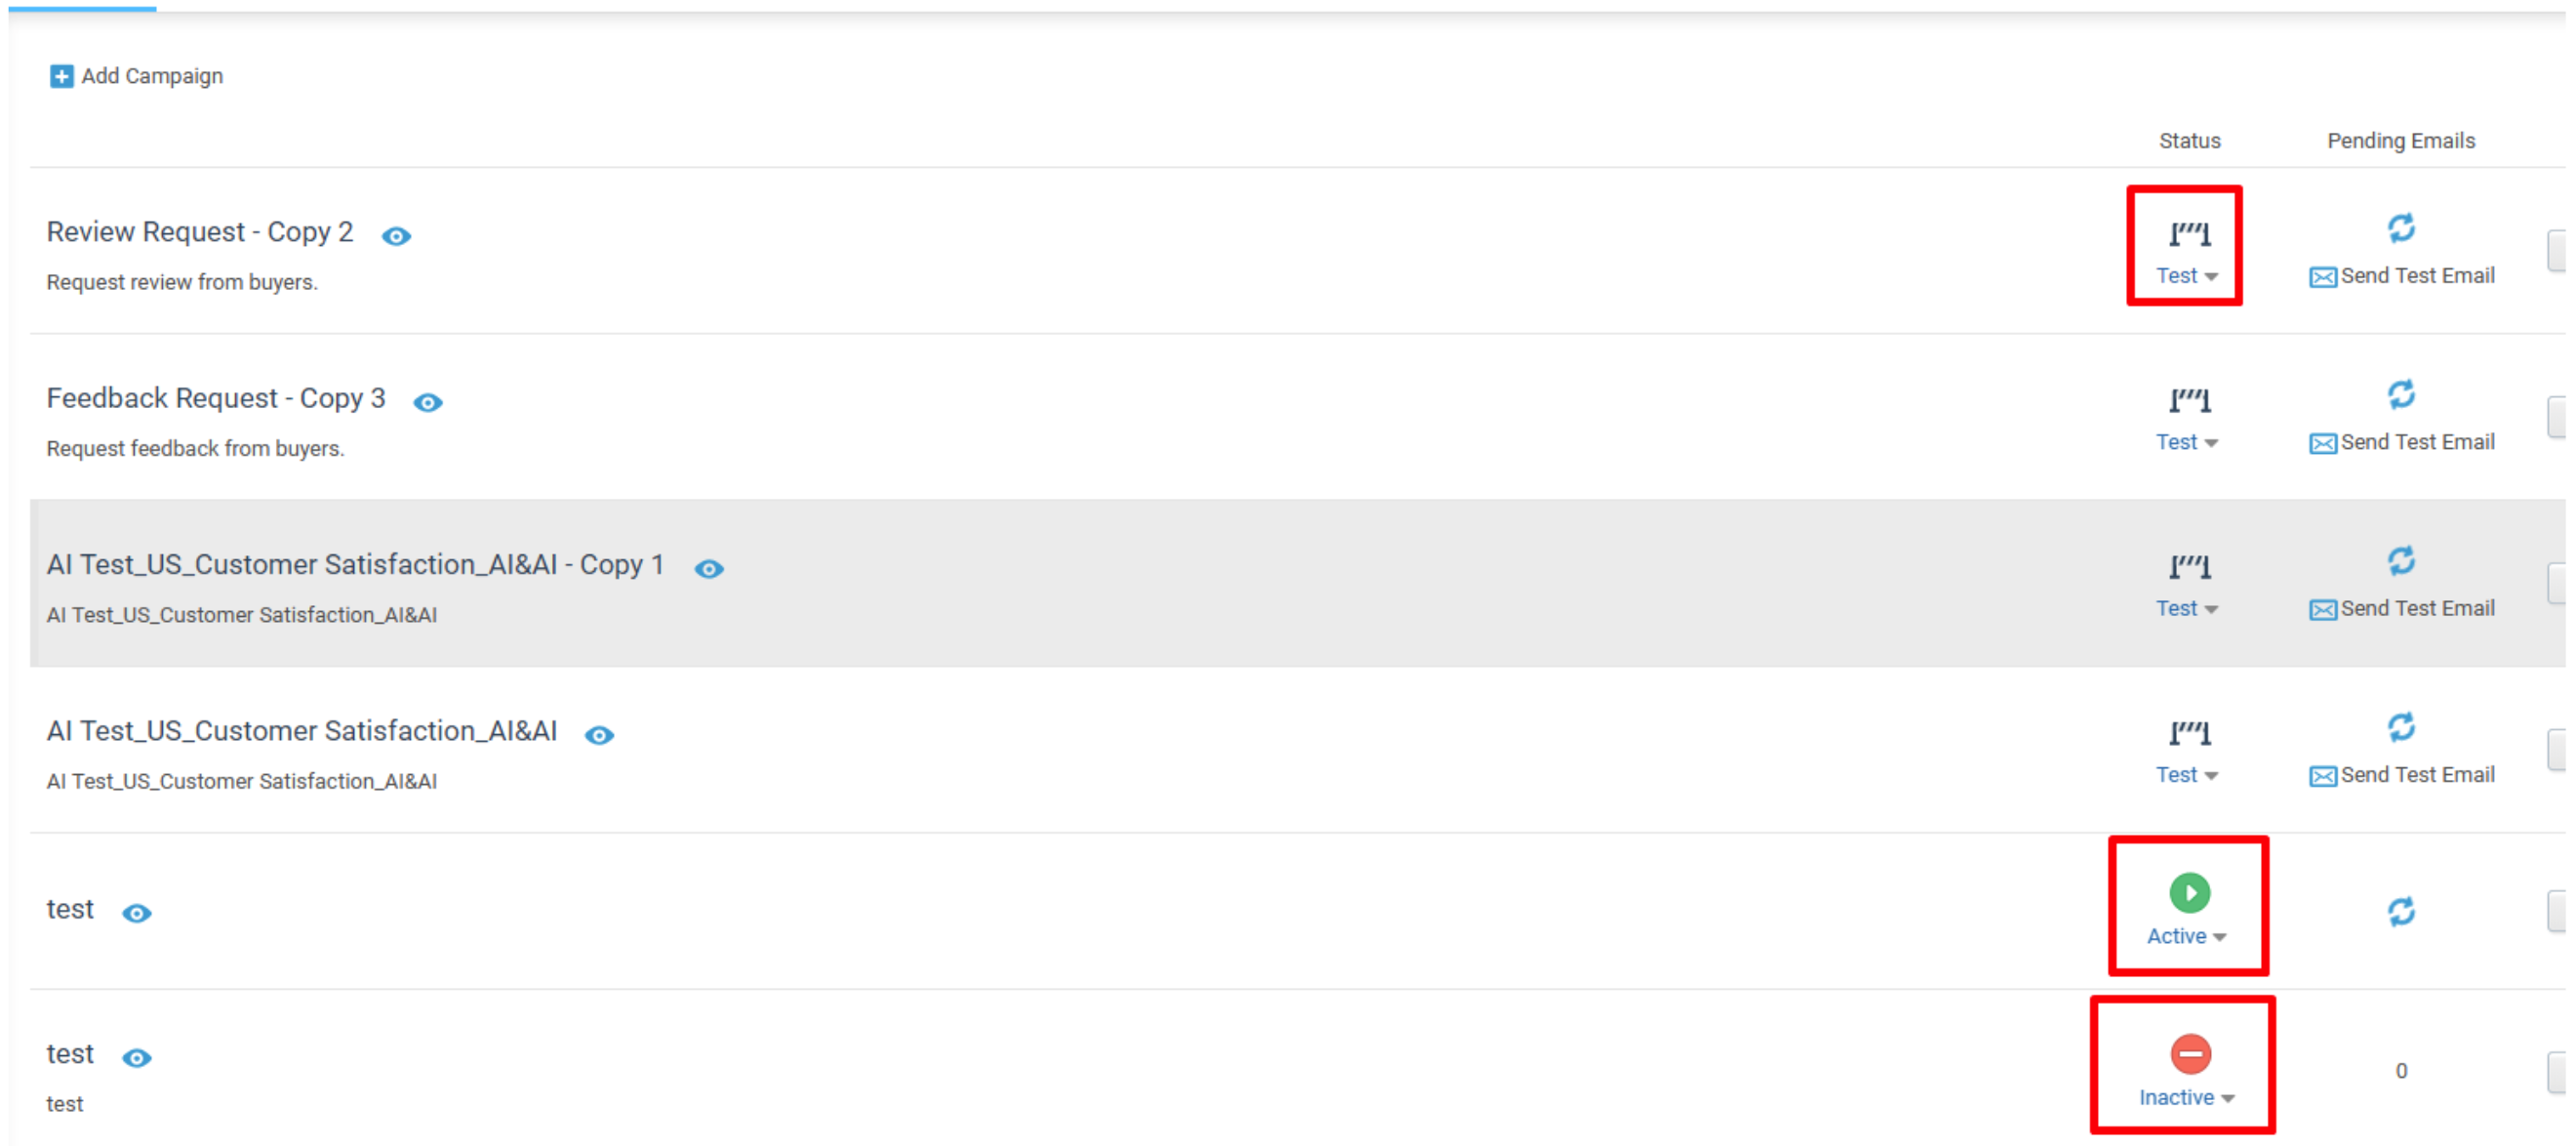
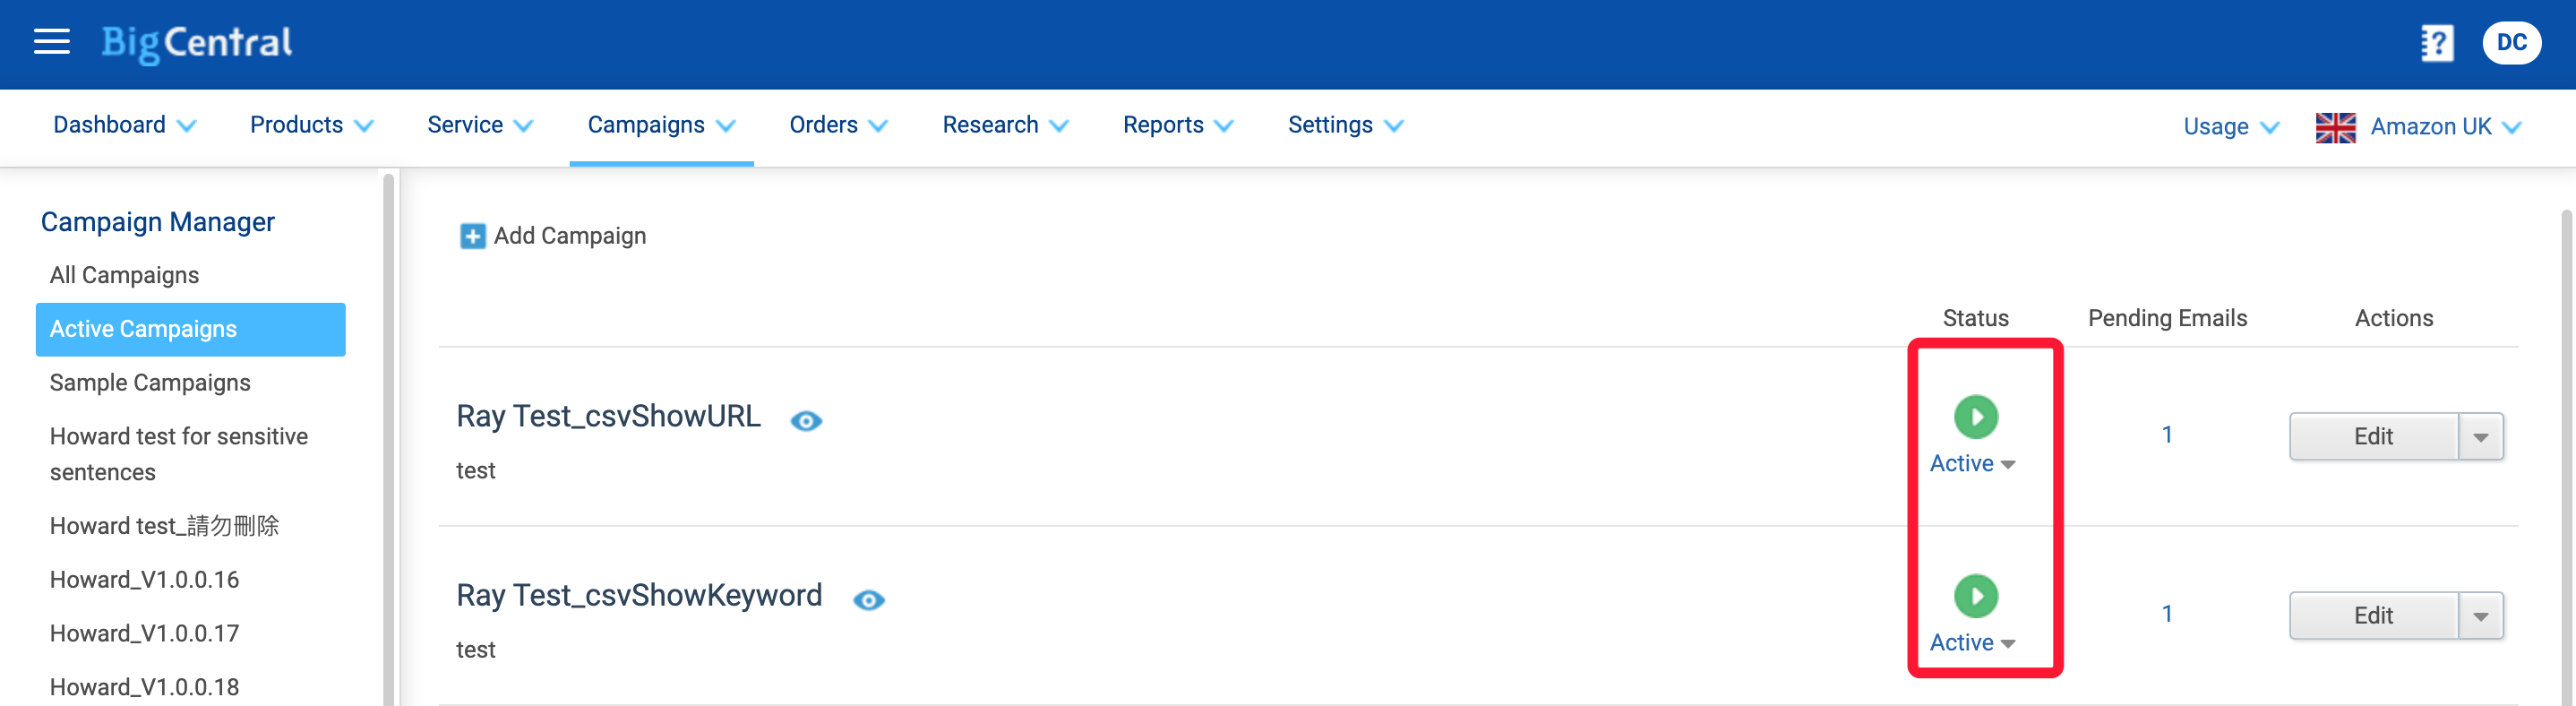
All Campaigns
Each campaign has three different status tags: Active, Inactive, and Test. Only the Active Campaigns will send Feedback / Review request emails to buyers. The Campaigns under the Test status will only send emails to the designated email address.
You can send test emails with a single click but must wait until the test email configuration is completed. The test email will send a single email paired with a real Order ID to the recipient of the test email.
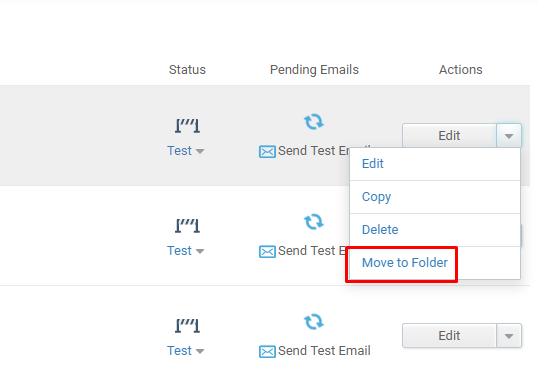
Actions:
The Email Campaigns have many different functions. Please click on Edit for more settings.
Edit: View the default campaign or edit the campaign you created
Copy: Create a copy of the campaign
Delete: Delete the campaign you created
Move to Folder: Organize your campaigns
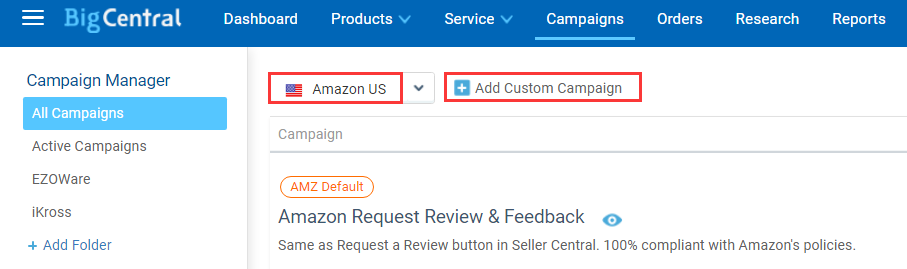
Add Campaign
You can always create your own Customized Email Campaign by clicking Add Custom Campaign. The system will open a Campaign setup interface, where you can start customizing. The saved Email Campaign will be assigned to the marketplace where you click “Add Custom Campaign” to.
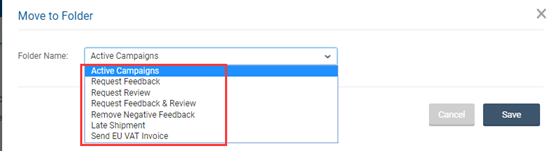
+Add Folder:
Users can create customized folders to organize email campaigns.
First, please create a folder and enter the folder name.
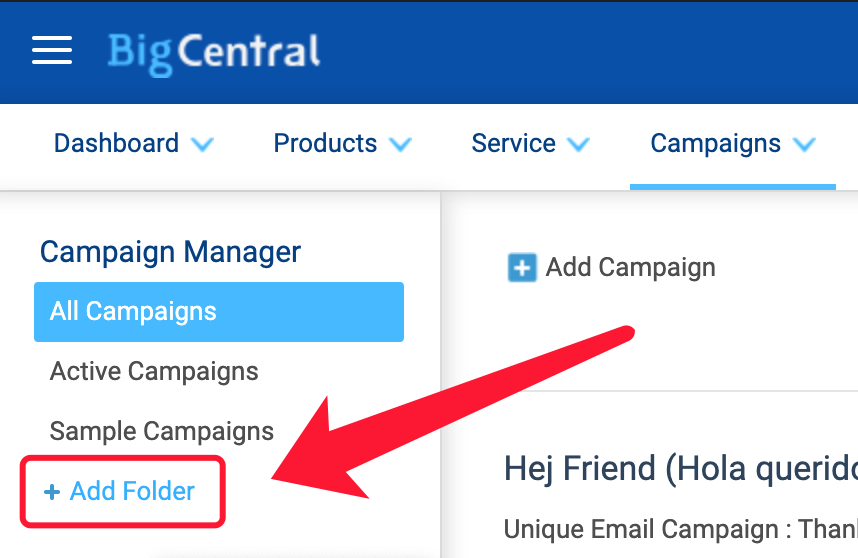
Second, select the email campaign from Active / All Campaigns default folder and click on the Action drop-down menu.
Lastly, select the folder name and click save.
Active Campaigns
Only Campaign with Active status will be displayed in this section.
Comments
0 comments
Article is closed for comments.